I honestly am shocked at how these metallic letters turned out!
When
I started looking around at how to do them I thought for sure my OCD
would get in the way & I would end up throwing them out. But I
managed to not care TOO much and just rolled with it.
This is what I picked up from Hobby Lobby.
Black paint
Metallic paint
Americana BURNT UMBER
& those small sponge brushes.
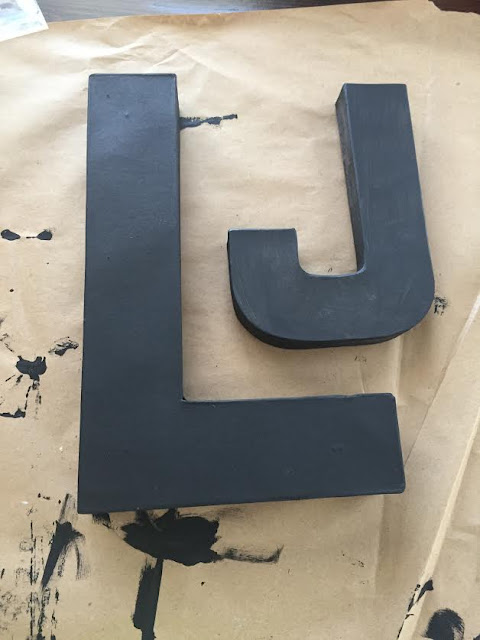
I found these cardboard letters from Joanne's that I thought would look perfect for the look I was going for.
I first painted all the letter black. Doesn't have to be perfect cause as you can see it's just a base color.
Once
dry, with the yellow sponge brush, I put VERY LITTLE metallic on the
brush and even blotted it to make sure it was almost none there. Then I
started with a small part of the letter (like the underneath of the "L"
just to see what I was working with.
The first 2
times I put way too much metallic on it and had to cover it back up with
black & start over. The look I am going for was not an entire
metallic letter- but streaks of metallic that blended into the black.
Once I did a small section of metallic, I took a paper towel and rubbed
in the metallic a little more just to make it blend well.
Whatever
it looks like-- just leave it. I didn't know what I would think with
some places but it's completely made the rustic "look" look even better.
Once that has dried, (it dries almost
immediately) take the Burnt Umber and make sure there is just a small
amount to start with on your brush. I just went around the edges of the
letter and made some corners darker than others. This is really where
you just have to go with it. The outcome is seriously so rustic &
beautiful!
For hanging them, I'll just glue these bad boys to the back.
There is a space right in our master bed that I needed something to put there and these will be perfect!


